--------------------------------------------------------------------------------------------------------------------------------------------------------------------------------------------------
Thank you for all of the love and support this little corner of the internet has received over the past several years. As friends and family members were getting married, their weddings fueled the inspiration for this blog. But as seasons of life change, my focus, along with those nearest and dearest, shifted away from the wedding planning stage and I began to neglect this blog.

I have decided to indefinitely retire Calligraphy by Shannon in an effort to pour my attention into my lifestyle blog The Scribble Pad where I will be merging past and future inspiration boards and parties. You will still be able to place orders for calligraphy, custom invitations, and hand stamped items through my etsy shop. And as always, you can stay in touch with me under my moniker, The Scribble Pad on my blog, etsy shop, facebook, and even twitter! I look forward to sharing this new adventure with you.
--------------------------------------------------------------------------------------------------------------------------------------------------------------------------------------------------

MFB: Faux Cork Inspiration Board

Hello! Hope you all had joyous Christmas and New Year's celebrations and are ready to stick to that NY Resolution that said you were going to be more creative and frugal this year. I'm here to help you do both!

The first MFB project for 2011 is quick, easy, and probably free because you likely have the supplies on hand.

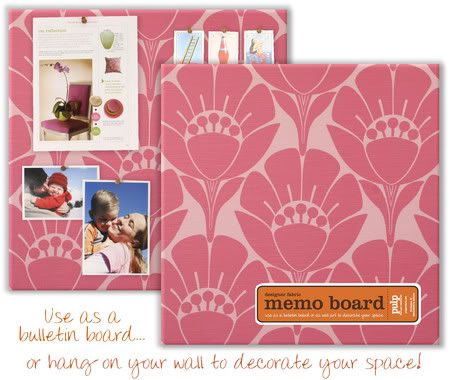
I've always appreciated the usefulness of cork / memo boards. PulpProducts has a really cute one that served as my inspiration.


Photobucket

I liked the idea of having an easy way to keep track of the wedding ephemera that has been tickling my fancy and taking over my dresser.


But paying $36 + shippping is just not my cup of tea.


Instead, I decided to FAKE IT using a cardboard box and some wrapping paper I had on hand in two of the colors I'm using for the wedding.


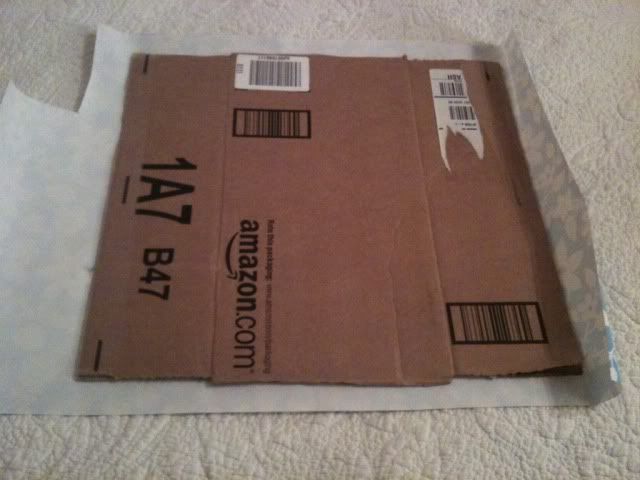
First, cut the box to the desired size. Mine is about 12" x 12" by the only limit is really your space constraints. This project is easily sized up or down.


Photobucket

You can trim up the sides to make it more even, but it's not a huge deal because the paper will even things out.


Then, cut the paper to about two inches longer than the box on each side.


Photobucket


Next, tape up the sides using masking tape....


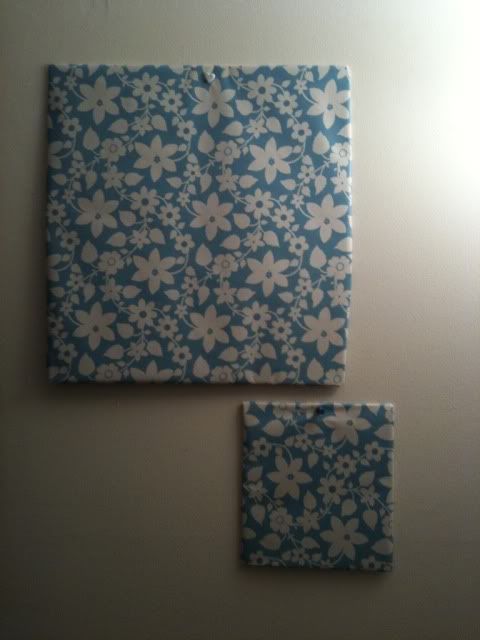
....and voila!


Photobucket
A simple, easy place to stash my inspiration.
Enjoy!
Subscribe to Calligraphy by Shannon via Email

No comments:

Related Posts with Thumbnails