 Happy Friday all and welcome to the last installment of the Curbside Chair project!
Two weeks ago, you saw a sneak preview of my fabric selection. Today, you'll see the finished result.
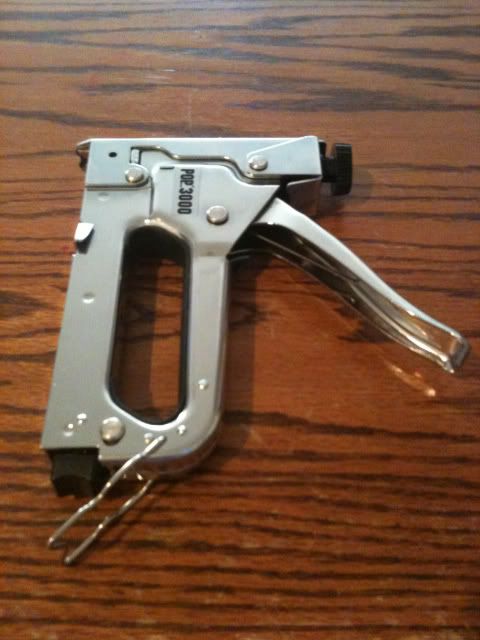
If you are attempting to similarly recover a chair, let me recommend this handy tool.
The staple gun.
And let me also recommend getting one at a garage sale, like I did last weekend, for $8 + with free heavy duty staples! Just watch your fingers.
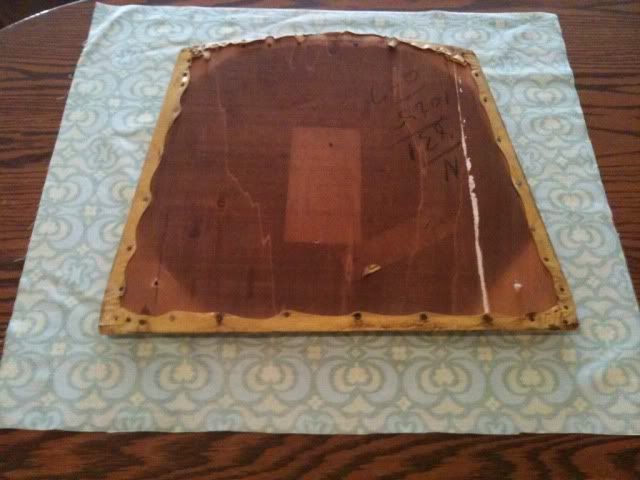
To cover the chair seat itself, cut a swath of fabric about 1 and 1/2 to 2 inches wider than your seat. (I cut it a bit wider than that, but to save fabric, next time I'd scale it back). A fat quarter is about the size.
Place the seat cover, seat side down, on the wrong side (dull side) of the fabric.
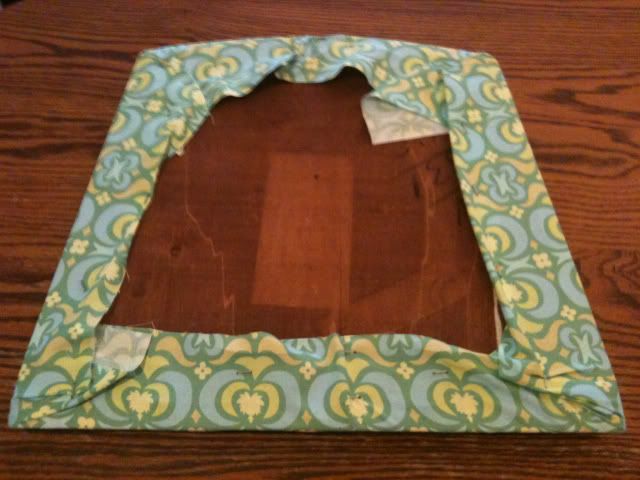
Always make your first staples, on the top and on the bottom. This helps to stabilize the fabric. Make sure you have pulled the fabric tightly, but evenly.

Continue stapling all the way around, until you have something that looks like this.
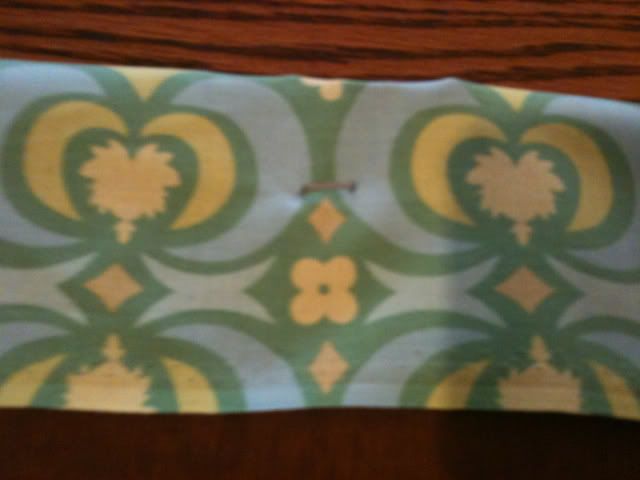
Though it looks a bit jank on the wrong side, it looks great on the right side!

I think the fabric matches the vintage look of the chair.
What do you think? Do you have any projects you are working on?


1 comment:
So cool and creative! Love the look of the chair! I am trying to make my own calendar right now but haven't gotten very far:)
http://sweetlasses.blogspot.com/
Post a Comment